

Introduction
Ubuntu Server recovery mode is a critical built-in feature designed to enable users to troubleshoot and restore system functionality when the operating system fails to boot normally. This mode provides access to a limited set of tools and options, allowing administrators to diagnose issues such as corrupted filesystems, failed updates, or hardware malfunctions without requiring a full system reinstallation.
The focus keyword “Ubuntu Server recovery mode” is central to this tutorial, as it outlines the process of utilizing this essential recovery mechanism to restore system stability. By leveraging recovery mode, users can perform tasks like repairing disk partitions, reinstalling the kernel, or resetting system configurations, ensuring minimal downtime and data loss during critical failures.
Version note: These instructions target 7. Package versions and repository behavior may change in later releases, so verify upstream documentation before applying production changes.
What You’ll Learn
- Understand the purpose and functionality of Ubuntu Server recovery mode.
- Learn how to access and navigate the recovery environment using GRUB or a recovery USB.
- Master common recovery tasks such as filesystem repairs, kernel reinstallation, and system configuration resets.
- Explore security best practices to ensure safe and least-privilege recovery operations.
- Develop troubleshooting skills to diagnose and resolve common recovery mode failures.
Prerequisites
Before you begin Ubuntu Server recovery mode, confirm the following prerequisites.
Before proceeding, ensure the following prerequisites are met:
- A functioning Ubuntu Server instance (physical or virtual) with root access.
- Basic familiarity with Linux command-line tools such as
lsblk,fdisk, andgrub-install. - A recovery medium (USB drive or CD) containing the Ubuntu Server installation media.
- Up-to-date system packages, including
grub-pcandfsck, to ensure recovery tools are available. - Knowledge of system logs and journalctl for post-recovery diagnostics.
Lab Environment
The lab environment used to demonstrate Ubuntu Server recovery mode is summarized below.
Set up a controlled environment for testing recovery scenarios. This can be a virtual machine using VirtualBox or a physical server. Ensure the Ubuntu Server is installed and booted normally. Prepare a recovery USB drive with the latest Ubuntu Server ISO. Additionally, back up critical data before attempting recovery, as some operations may result in data loss. The lab should include tools like journalctl and fsck for post-recovery analysis.
Installation
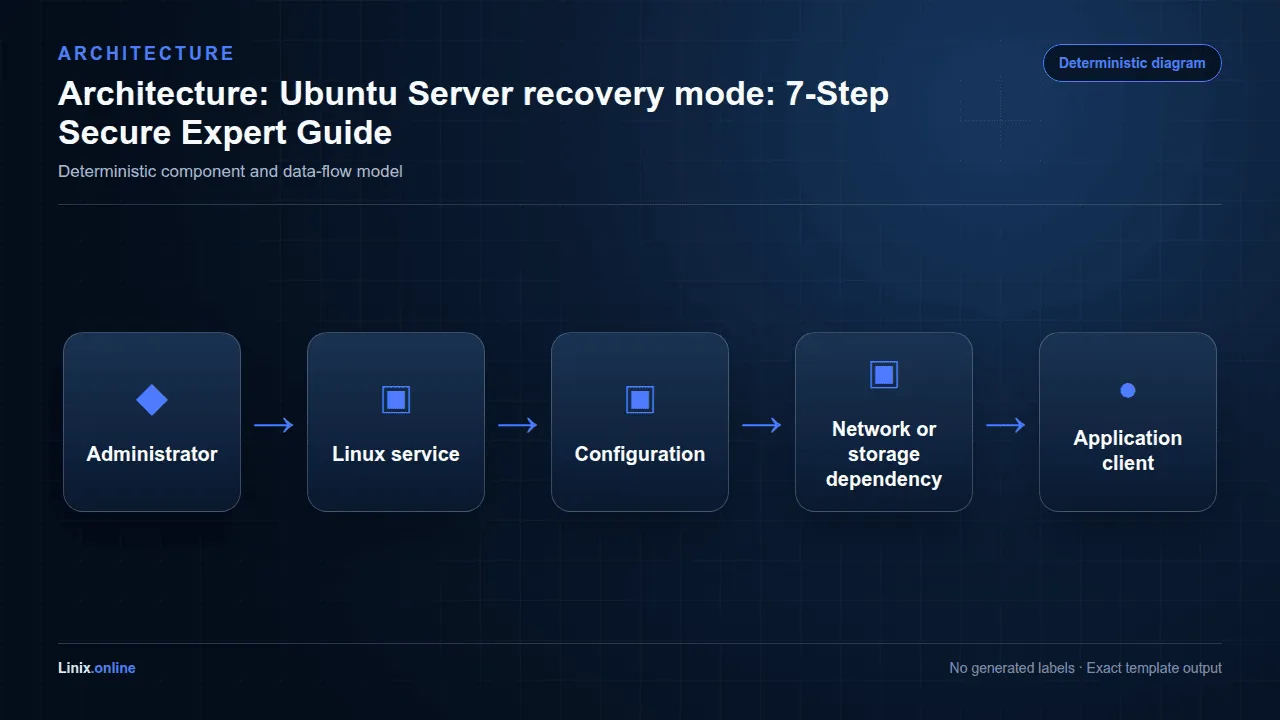
While this tutorial focuses on recovery, proper system installation is a prerequisite. Verify that the GRUB bootloader is correctly configured by checking /etc/default/grub and running sudo update-grub. Ensure the grub-pc package is installed to enable recovery options in the GRUB menu. If the system is already in a failed state, prepare the recovery media by creating a bootable USB drive with the Ubuntu Server ISO. This ensures the recovery environment is accessible when needed.
Alternative Installation and Package Sources
Compare the distribution-supported package with the project’s official repository or installation method. Choose one source, document it, and avoid mixing package origins.
Before changing package sources, record the current package version and repository origin. This makes troubleshooting and rollback more predictable.
Expert Architecture Notes
Experienced administrators define service boundaries before tuning individual settings.
- Treat APT sources, packages, services, kernel, and bootloader as one managed dependency graph.
- Separate routine updates from release upgrades and document third-party repositories.
Configuration
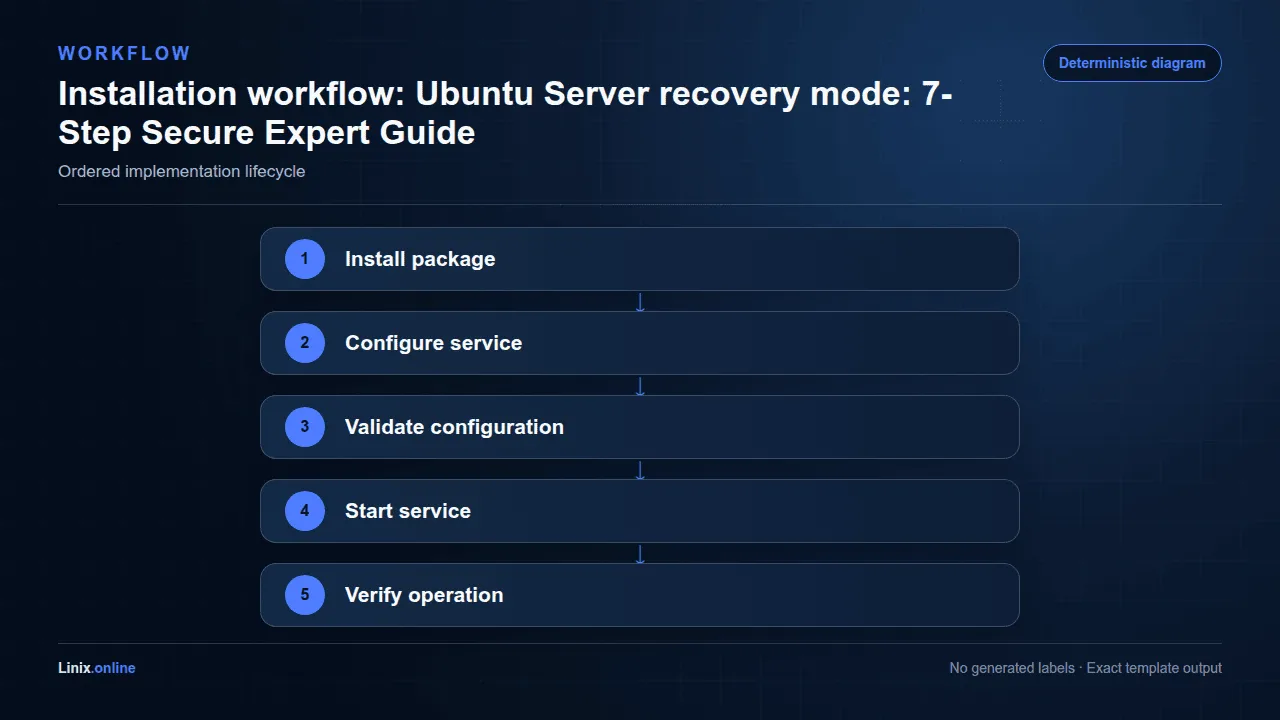
After the initial setup, the deployment requires the following configuration checks.
Configure the system to support recovery mode by ensuring the GRUB menu includes the necessary options. Edit /etc/default/grub to set GRUB_TIMEOUT=5 and GRUB_TIMEOUT_STYLE=menu for visibility. After saving, run sudo update-grub to apply changes. Additionally, verify that the recovery image is up to date by updating the package repository with sudo apt update and installing any available updates. This ensures the recovery tools are current and compatible with the system.
Configuration and File Reference
| Item | Purpose |
|---|---|
/etc/recover/ | Configuration or persistent data location to back up and review before changes. |
/var/log/recover/ | Primary log location or log directory used during diagnosis. |
Paths can vary by distribution and installation method. Confirm each path on the target host before editing or automating it.
Upgrade and Maintenance Workflow
Use a staged maintenance process: capture the current version, back up configuration and data, review available packages, apply the update, and complete the same verification checks used after installation.
sudo apt update
sudo apt install --only-upgrade recover
Run upgrade commands during a maintenance window. Review package changes before confirmation, then verify the service, logs, listening ports, and application behavior.
Expert Performance Guidance
Performance changes should follow measurement, not assumptions.
- Measure boot time, memory pressure, disk latency, and service startup before changing kernel or sysctl settings.
- Keep /boot and root filesystem capacity monitored before large upgrades.
Monitor the signals that prove whether the change helped or introduced risk.
- Monitor failed systemd units, pending reboots, disk space, and security updates.
Verification
For upstream details and current platform guidance, consult the Ubuntu Server documentation.
Use these checks to verify that the service environment completed successfully.
After entering recovery mode, verify system functionality through specific commands. Use lsblk to list disk partitions and fsck to check for filesystem errors. If the system fails to boot due to a corrupted kernel, select an older kernel from the Advanced options for Ubuntu menu. Run journalctl -b -1 to review the previous boot logs for error messages. Successful verification is indicated by the system booting properly after recovery steps. For example, if a filesystem repair is performed, fsck should report no errors, and the system should boot without issues.
Troubleshooting
If the Linux setup does not work as expected, review these common causes.
Common recovery mode issues include failure to boot into the environment or persistent errors after recovery. If GRUB does not display the recovery option, check /etc/default/grub for misconfigurations and run sudo update-grub. If the system does not boot after recovery, review journalctl logs for persistent errors. Another issue could be a missing recovery image, which can be resolved by updating the repository or reinstalling grub-pc.
For filesystem corruption, run fsck with the appropriate partition identifier. If the problem persists, consider a full system reinstallation as a last resort, ensuring data is backed up first.
Logs and Diagnostic Commands
When the service behaves unexpectedly, collect evidence before changing configuration. The following commands establish the installed version, service state, recent errors, and application-level health.
recover --version
systemctl status recover --no-pager
journalctl -u recover -n 100 --no-pager
journalctl -u recover --since '30 minutes ago'
systemctl status recover --no-pager
Save the relevant output with timestamps. Compare the first error with later secondary failures, because the earliest failure usually identifies the root cause.
Rollback and Uninstall Strategy
A rollback should restore both configuration and compatible application data. Do not remove data directories until backups have been verified and the retention decision is documented.
sudo cp -a /etc/recover /etc/recover.backup
sudo systemctl restart recover
sudo apt remove recover
Package removal does not always delete configuration or persistent data. Inspect the package manager output, verify backups, and confirm whether a purge is appropriate before deleting retained files.
Automation and Routine Health Checks
Automate read-only health checks before automating changes. A scheduled check should report a failure without repeatedly restarting services or hiding the original error.
systemctl is-active recover
journalctl -u recover -n 20 --no-pager
For fleet management, place the same checks in Ansible, a monitoring agent, or a systemd timer. Keep credentials outside scripts and make maintenance jobs idempotent.
Common Production Failure Modes
| Expert concern | Operational guidance |
|---|---|
| Repository drift | PPAs can replace distribution packages and block upgrades. |
| Kernel regression | A new kernel may fail with storage, network, or DKMS modules. |
| Partial dpkg transaction | Interrupted package operations can leave packages unconfigured. |
Security Best Practices
Apply these security controls after the procedure is complete.
Implement security measures to protect the recovery process. Use least privilege by performing recovery tasks as a non-root user when possible, escalating to root only when necessary. Avoid storing sensitive data on recovery media to prevent unauthorized access. Isolate the recovery environment from the network to mitigate attack vectors. Maintain up-to-date packages and repositories to ensure recovery tools are secure. Regularly audit system logs for suspicious activity during recovery.
For example, use sudo -i to switch to root only when required, and ensure grub-pc and fsck are from trusted repositories with signed packages.
Production Readiness Checklist
- Back up configuration and application data before changes.
- Validate configuration before restarting or reloading the service.
- Monitor logs, disk usage, resource consumption, and service availability.
- Document rollback steps and test them outside production.
Record the tested version, configuration checksum, backup location, validation commands, and rollback owner in the change record before production rollout.
Expert Hardening Guidance
Apply controls in layers and verify that security changes do not break required service behavior.
- Use unattended-upgrades with monitoring and an explicit reboot policy.
- Prefer AppArmor profiles, least-privilege sudo rules, and minimal exposed services.
Avoid these common operational anti-patterns.
- Do not mix multiple repositories for the same core package without pinning.
Expert Recovery Strategy
Recovery planning must cover configuration, persistent state, dependencies, and the order in which services return.
- Retain previous kernels and console access.
- Save package selections, APT sources, and configuration backups before high-risk changes.
Automate repeatable checks and changes without hiding failures.
- Use cloud-init or Ansible for repeatable host configuration.
Frequently Asked Questions
What is this configuration?
the deployment is a built-in feature that allows users to access a limited set of tools and options when the system fails to boot normally. It provides a way to troubleshoot and recover the system without requiring a full reinstallation.
How do I access recovery mode?
To access recovery mode, restart the system and boot from the Ubuntu Server installation media. During the boot process, press the appropriate key (usually F2, F12, or Esc) to enter the GRUB menu. From there, select the Recovery mode option to enter the recovery environment.
What should I do if recovery mode doesn’t work?
If recovery mode doesn’t work, check the GRUB configuration by editing /etc/default/grub and running sudo update-grub. Ensure the recovery image is up to date and that all necessary packages are installed. If the issue persists, consider performing a full system reinstallation.
Can I perform a full system reinstallation from recovery mode?
Yes, recovery mode provides options to reinstall the Ubuntu Server. This can be done by selecting the Reinstall Ubuntu Server option in the GRUB menu. However, it’s recommended to back up critical data before proceeding with a reinstallation.
Conclusion
Recovering an Ubuntu Server using recovery mode is a vital skill for any Linux administrator. By understanding how to access and navigate the recovery environment, performing necessary troubleshooting steps, and adhering to security best practices, you can effectively restore system functionality in the event of a failure. This tutorial has covered the essential steps and considerations, ensuring you are well-equipped to handle common recovery scenarios. Remember to always maintain up-to-date systems and follow security protocols to minimize risks during the recovery process.
Related Tutorials
Need help? If you run into issues while following this guide, leave a comment with the command output and your Linux version.