

Introduction
Ubuntu Server installation is covered in this complete practical tutorial. The Ubuntu Server 24.04 LTS installation process involves deploying a minimal, secure, and stable Linux distribution from a bootable ISO image. This guide focuses on the technical steps required to install Ubuntu Server 24.04, emphasizing system integrity, package provenance, and security hardening. The focus keyword “Ubuntu Server 24.04 installation” reflects the core objective: deploying a reliable server environment suitable for production or development use.
Version note: These instructions target 24.04. Package versions and repository behavior may change in later releases, so verify upstream documentation before applying production changes.
Ubuntu Server 24.04 leverages the Debian-based architecture, ensuring long-term support and compatibility with a vast ecosystem of tools. Its release lifecycle aligns with Ubuntu’s 24-month support cycle, providing security updates and maintenance until April 2026. The installation process adheres to least-privilege principles, requiring root access only for critical operations while enforcing secure configurations post-installation.
What You’ll Learn
This guide explains Ubuntu Server installation with clear, reproducible administration steps.
This tutorial covers the end-to-end process of installing Ubuntu Server 24.04 from an ISO, including hardware preparation, bootstrapping the system, partitioning, and post-installation security hardening. You will learn to verify system integrity using package provenance checks, enforce least-privilege access controls, and troubleshoot common installation failures. Key concepts include repository trust mechanisms, service lifecycle management, and rollback strategies.
By the end, you will be able to deploy a hardened Ubuntu Server 24.04 instance with observable evidence of successful configuration.
Prerequisites
Before you begin Ubuntu Server installation, confirm the following prerequisites.
Before proceeding, ensure you have:
- A computer or virtual machine with at least 2GB RAM and 5GB disk space.
- A bootable USB drive or DVD containing the Ubuntu Server 24.04 ISO.
- Basic familiarity with terminal commands and Linux file systems.
- A stable internet connection for post-installation updates.
- Administrative privileges (root or sudo access) for critical steps.
Lab Environment
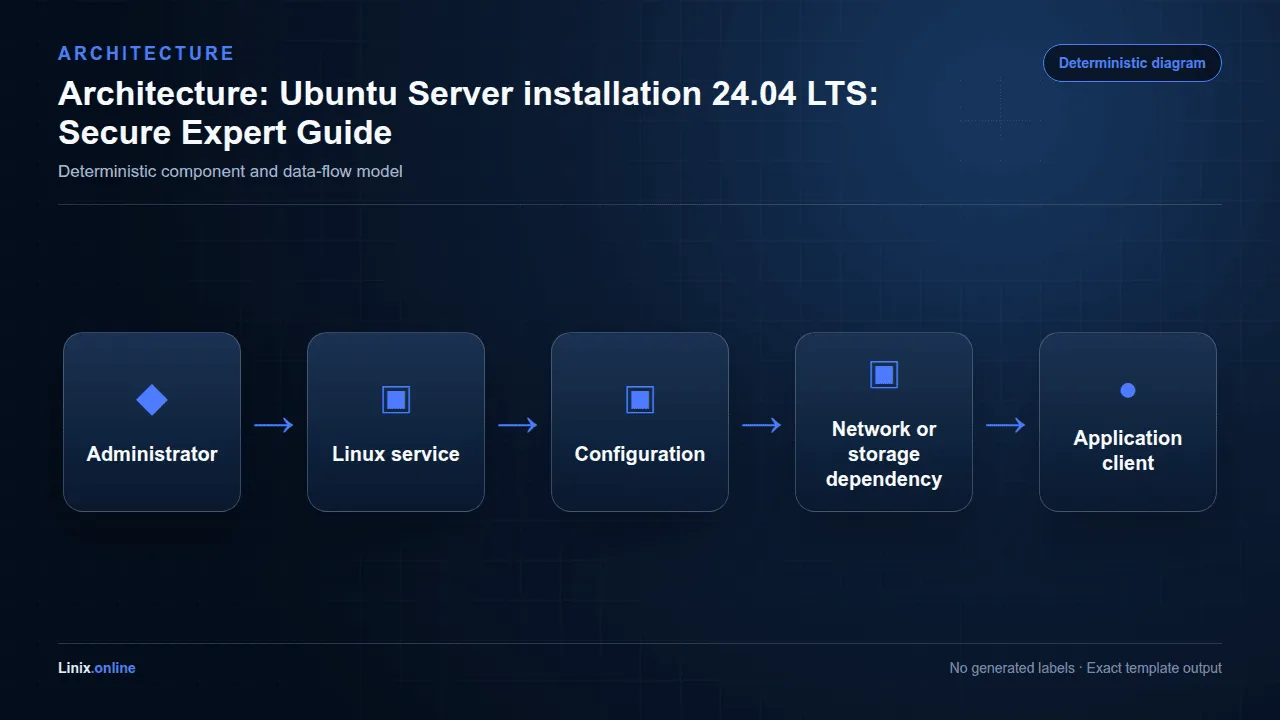
The lab environment used to demonstrate Ubuntu Server installation is summarized below.
Set up a controlled environment using a virtual machine (e.g., VirtualBox, VMware) or physical hardware. For virtual setups, allocate dedicated resources to avoid conflicts with the host system. Ensure the host system’s BIOS/UEFI settings allow booting from external media. If using a physical machine, back up existing data to prevent accidental loss during partitioning.
Installation
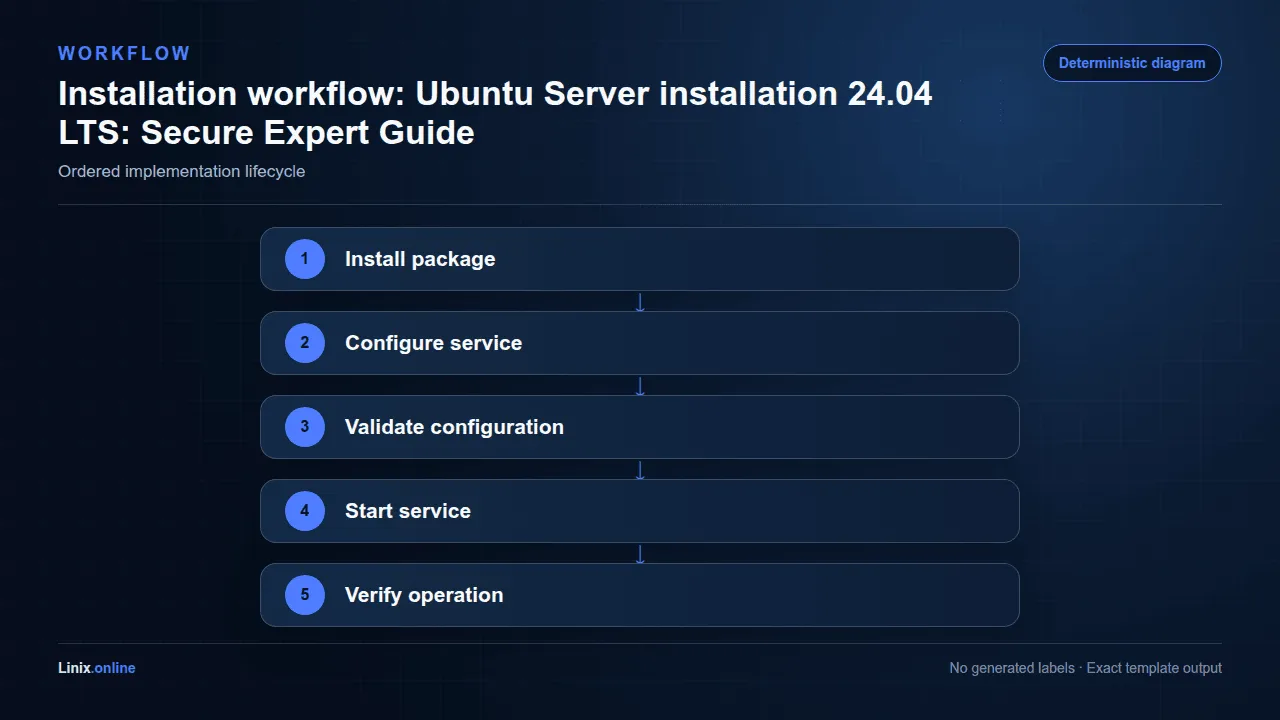
Ubuntu Server installation
1. Download the Ubuntu Server 24.04 ISO
Begin by downloading the official Ubuntu Server 24.04 LTS ISO from the Ubuntu archive. Use wget or curl to fetch the file:
wget https://releases.ubuntu.com/24.04/ubuntu-24.04.1-server-amd64.isoVerify the ISO’s integrity using sha256sum against the checksum provided on the Ubuntu website. This ensures package provenance and avoids tampered files.
2. Create a Bootable USB Drive
Use tools like dd or Rufus to write the ISO to a USB drive. For example:
sudo dd if=ubuntu-24.04.1-server-amd64.iso of=/dev/sdX bs=4M status=progressReplace /dev/sdX with your USB device identifier (use lsblk to identify it). This step requires root privileges and careful device selection to avoid data loss.
3. Boot from the USB Drive
Restart the target system and enter BIOS/UEFI settings to prioritize the USB drive. Boot into the Ubuntu installer. On the initial screen, select “Install Ubuntu Server” and proceed.
4. Partition the Disk
Use the guided partitioning tool or fdisk/parted for manual control. Create at least two partitions:
- A root partition (
/) of at least 25GB. - A swap partition (optional but recommended for systems with limited RAM).
Ensure the root partition uses an ext4 filesystem. Avoid using default partitions for security; explicitly define mount points.
5. Install the Base System
Select the partitions created in the previous step and proceed with installation. The installer will download and install core packages. During this phase, avoid selecting unnecessary software to minimize attack surface.
6. Initial Configuration
Set the system timezone, locale, and keyboard layout. Create a non-root user with sudo privileges:
adduser john
usermod -aG sudo john
Configure the sudoers file to restrict access:
visudoAdd john ALL=(ALL:ALL) ALL to grant sudo access without password prompts.
7. Post-Installation Updates
After rebooting, update the system to ensure package provenance:
apt update && apt upgrade -yThis step applies security patches and validates repository trust via /etc/apt/sources.list and /etc/apt/keyrings.
Alternative Installation and Package Sources
Compare the distribution-supported package with the project’s official repository or installation method. Choose one source, document it, and avoid mixing package origins.
Before changing package sources, record the current package version and repository origin. This makes troubleshooting and rollback more predictable.
Expert Architecture Notes
Experienced administrators define service boundaries before tuning individual settings.
- Treat APT sources, packages, services, kernel, and bootloader as one managed dependency graph.
- Separate routine updates from release upgrades and document third-party repositories.
Record the package source and installed version used for Ubuntu Server installation so future maintenance remains reproducible.
Configuration
After the initial setup, Ubuntu Server installation requires the following configuration checks.
1. Configure Repository Trust
Ensure /etc/apt/sources.list points to trusted Ubuntu repositories. Add the following lines:
deb http://archive.ubuntu.com/ubuntu jammy main restricted
deb http://archive.ubuntu.com/ubuntu jammy-updates main restricted
Import the repository keyring:
wget -O /etc/apt/keyrings/ubuntu-release-keyring.gpg https://archive.ubuntu.com/ubuntu/ubuntu-release-keyring.gpg
echo "deb [signed-by=/etc/apt/keyrings/ubuntu-release-keyring.gpg] http://archive.ubuntu.com/ubuntu jammy main" > /etc/apt/sources.list.d/jammy.list
This enforces package provenance and rejects unsigned repositories.
2. Apply Security Hardening
- Disable root login via SSH:
nano /etc/ssh/sshd_configSet PermitRootLogin no.
- Configure a firewall (e.g.,
ufw):
ufw allow ssh
  ufw enable
This command retrieves data from the specified upstream source. Verify the URL and repository trust before using the downloaded content.
- Set file permissions to least privilege:
chmod 644 /etc/sudoersThis command changes files, permissions, or ownership. Verify the path carefully and keep a backup when modifying production configuration.
Configuration and File Reference
| Item | Purpose |
|---|---|
/etc/server/ | Configuration or persistent data location to back up and review before changes. |
/var/log/server/ | Primary log location or log directory used during diagnosis. |
Paths can vary by distribution and installation method. Confirm each path on the target host before editing or automating it.
Upgrade and Maintenance Workflow
Use a staged maintenance process: capture the current version, back up configuration and data, review available packages, apply the update, and complete the same verification checks used after installation.
sudo apt update
sudo apt install --only-upgrade server
Run upgrade commands during a maintenance window. Review package changes before confirmation, then verify the service, logs, listening ports, and application behavior.
Expert Performance Guidance
Performance changes should follow measurement, not assumptions.
- Measure boot time, memory pressure, disk latency, and service startup before changing kernel or sysctl settings.
- Keep /boot and root filesystem capacity monitored before large upgrades.
Monitor the signals that prove whether the change helped or introduced risk.
- Monitor failed systemd units, pending reboots, disk space, and security updates.
Verification
For upstream details and current platform guidance, consult the Ubuntu Server documentation.
Use these checks to verify that the service environment completed successfully.
1. Verify System Integrity
Check the installed Ubuntu version:
lsb_release -aOutput should confirm Ubuntu 24.04 LTS. Validate disk space:
df -hEnsure sufficient space for system updates.
2. Verify Critical Services
Check that essential services are active:
systemctl status sshd
systemctl status apt-daily.service
Review logs for errors:
journalctl -u sshd.serviceReview the command output before continuing, and confirm that it completed without errors.
3. Confirm Package Provenance
Inspect installed packages:
apt list --installed | grep ubuntuVerify that packages are signed by the Ubuntu repository keyring.
Troubleshooting
If the Linux setup does not work as expected, review these common causes.
1. Boot Failure
If the system fails to boot:
- Check the BIOS/UEFI boot order.
- Verify the USB drive is properly written using
ddormd5sum. - Test the ISO on another machine.
2. Partition Errors
For partition-related issues:
- Use
fdisk -lto list partitions. - Repair the partition table with
fdiskorparted. - Avoid overlapping mount points.
3. Package Installation Failure
If packages fail to install:
- Check internet connectivity with
ping archive.ubuntu.com. - Repair the repository configuration:
apt update --fix-missingThis command updates package metadata or installs the required packages; review the package list before confirming changes.
- Reinstall the package:
apt install --reinstall package-nameThis command updates package metadata or installs the required packages; review the package list before confirming changes.
4. Safe Rollback
In case of critical failures, use apt to revert packages:
apt install ubuntu-core-base=24.04.1-0ubuntu1Alternatively, restore from a backup created during installation.
Logs and Diagnostic Commands
When the service behaves unexpectedly, collect evidence before changing configuration. The following commands establish the installed version, service state, recent errors, and application-level health.
server --version
systemctl status server --no-pager
journalctl -u server -n 100 --no-pager
journalctl -u server --since '30 minutes ago'
systemctl status server --no-pager
Save the relevant output with timestamps. Compare the first error with later secondary failures, because the earliest failure usually identifies the root cause.
Rollback and Uninstall Strategy
A rollback should restore both configuration and compatible application data. Do not remove data directories until backups have been verified and the retention decision is documented.
sudo cp -a /etc/server /etc/server.backup
sudo systemctl restart server
sudo apt remove server
Package removal does not always delete configuration or persistent data. Inspect the package manager output, verify backups, and confirm whether a purge is appropriate before deleting retained files.
Automation and Routine Health Checks
Automate read-only health checks before automating changes. A scheduled check should report a failure without repeatedly restarting services or hiding the original error.
systemctl is-active server
journalctl -u server -n 20 --no-pager
For fleet management, place the same checks in Ansible, a monitoring agent, or a systemd timer. Keep credentials outside scripts and make maintenance jobs idempotent.
Common Production Failure Modes
| Expert concern | Operational guidance |
|---|---|
| Repository drift | PPAs can replace distribution packages and block upgrades. |
| Kernel regression | A new kernel may fail with storage, network, or DKMS modules. |
| Partial dpkg transaction | Interrupted package operations can leave packages unconfigured. |
Security Best Practices
Apply these security controls after the procedure is complete.
1. Enforce Least Privilege
- Restrict sudo access to specific commands:
visudoAdd john ALL=(ALL) NOPASSWD: /usr/bin/apt to limit sudo privileges.
- Use non-root users for daily operations.
2. Secure Credential Management
- Store SSH keys in
~/.sshwithchmod 600. - Avoid plaintext passwords in scripts or logs.
3. Enable Audit Logging
Configure auditd to track critical system changes:
auditctl -w /etc/sudoers -p wa -k sudoersReview logs with ausearch.
Production Readiness Checklist
- Back up configuration and application data before changes.
- Validate configuration before restarting or reloading the service.
- Monitor logs, disk usage, resource consumption, and service availability.
- Document rollback steps and test them outside production.
Record the tested version, configuration checksum, backup location, validation commands, and rollback owner in the change record before production rollout.
Expert Hardening Guidance
Apply controls in layers and verify that security changes do not break required service behavior.
- Use unattended-upgrades with monitoring and an explicit reboot policy.
- Prefer AppArmor profiles, least-privilege sudo rules, and minimal exposed services.
Avoid these common operational anti-patterns.
- Do not mix multiple repositories for the same core package without pinning.
Expert Recovery Strategy
Recovery planning must cover configuration, persistent state, dependencies, and the order in which services return.
- Retain previous kernels and console access.
- Save package selections, APT sources, and configuration backups before high-risk changes.
Automate repeatable checks and changes without hiding failures.
- Use cloud-init or Ansible for repeatable host configuration.
Frequently Asked Questions
What should I verify after this configuration?
Confirm the service, version, logs, network access, and security settings described above.
Why can’t I boot from the USB?
Ensure the USB drive is properly written and the BIOS/UEFI settings prioritize it. Test the ISO on another machine.
How do I fix a partition error?
Use fdisk -l to identify the issue. Repair the partition table with fdisk or parted.
What if packages fail to install?
Check internet connectivity and repository configuration. Run apt update --fix-missing.
How do I rollback a failed installation?
Use apt to reinstall core packages or restore from a backup created during installation.
Conclusion
You now have a verified process for the deployment with configuration, troubleshooting, and security guidance.
Installing Ubuntu Server 24.04 LTS from ISO requires careful attention to system integrity, package provenance, and security hardening. By following the steps outlined in this tutorial, you ensure a stable, secure server environment. Key practices include verifying repository trust, enforcing least privilege, and maintaining audit trails. This installation process aligns with Ubuntu’s release lifecycle and security hardening profiles, providing a foundation for reliable server operations.
Need help? If you run into issues while following this guide, leave a comment with the command output and your Linux version.