

Introduction
To clone Ubuntu Server virtual machine instances safely is to create an exact, functional replica of a running or stopped system while ensuring that unique identifiers, network configurations, and security credentials do not conflict with the original source. In a production environment, cloning is used to scale horizontally, create staging environments from production baselines, or establish disaster recovery nodes.
However, a naive “copy-paste” of virtual disk files often results in “split-brain” scenarios where two machines share the same Machine ID, SSH host keys, or IP addresses, leading to catastrophic failures in cluster quorum, authentication, and network routing.
Version note: These instructions target 7. Package versions and repository behavior may change in later releases, so verify upstream documentation before applying production changes.
A successful cloning workflow requires a deep understanding of the underlying compute and storage topology. You must account for the lifecycle of system services and the integrity of package provenance to ensure the clone is not just a bit-for-bit copy, but a distinct, secure, and operational entity. This guide provides a professional methodology for cloning Ubuntu Server, focusing on minimizing failure domains and ensuring a safe rollback path if the new instance fails to initialize correctly.
What You’ll Learn
This guide explains Clone Ubuntu Server virtual with clear, reproducible administration steps.
By following this technical guide, you will master the following operational competencies:
- System Identity Sanitization: How to reset the Machine ID and regenerate SSH host keys to prevent identity collisions.
- Network Configuration Management: Techniques to prevent IP conflicts and ensure the clone adheres to the intended virtual networking topology.
- Storage Integrity: Managing virtual disk snapshots and ensuring filesystem consistency during the cloning process.
- Security Hardening: Implementing least-privilege controls and ensuring that sensitive secrets are not inadvertently duplicated or exposed.
- Verification and Observability: Using system logs and service status checks to confirm the clone is operating within expected parameters.
- Rollback Strategies: Implementing safe recovery paths to revert to the original state if the cloning process introduces system instability.
Prerequisites
Before attempting to clone Ubuntu Server virtual machine instances, ensure the following prerequisites are met to mitigate risks associated with data corruption or service interruption:
- Hypervisor Access: Administrative access to the virtualization platform (e.g., KVM/QEMU, VMware, or Proxmox) with permissions to manage snapshots and disk images.
- Sudo Privileges: A user account with
sudoaccess on the source Ubuntu Server to perform system sanitization. - Backup Verification: A verified, recent backup of the source machine’s critical data. Never perform cloning operations without a confirmed restore path.
- Storage Capacity Planning: Sufficient free space on the host storage to accommodate the new virtual disk images and any temporary snapshot files.
- Network Documentation: A clear map of the existing virtual networking, including VLAN tags, subnet masks, and gateway addresses, to prevent IP address duplication.
Lab Environment
The lab environment used to demonstrate Clone Ubuntu Server virtual is summarized below.
For the purposes of this tutorial, the following environment is assumed. This setup is designed to demonstrate the transition from a “Source” machine to a “Clone” machine without causing network or identity collisions.
| Component | Source Machine (Template) | Clone Machine (Target) |
|---|---|---|
| Operating System | Ubuntu Server 24.04 LTS | Ubuntu Server 24.04 LTS |
| Virtualization | KVM/QEMU (Libvirt) | KVM/QEMU (Libvirt) |
| Network Interface | virtio-net (Static IP: 192.168.10.10) | virtio-net (Static IP: 192.168.10.11) |
| Storage Type | QCOW2 (20GB) | QCOW2 (20GB) |
| Security Context | Standard Hardened | Sanitized/New Identity |

Installation
Clone Ubuntu Server virtual
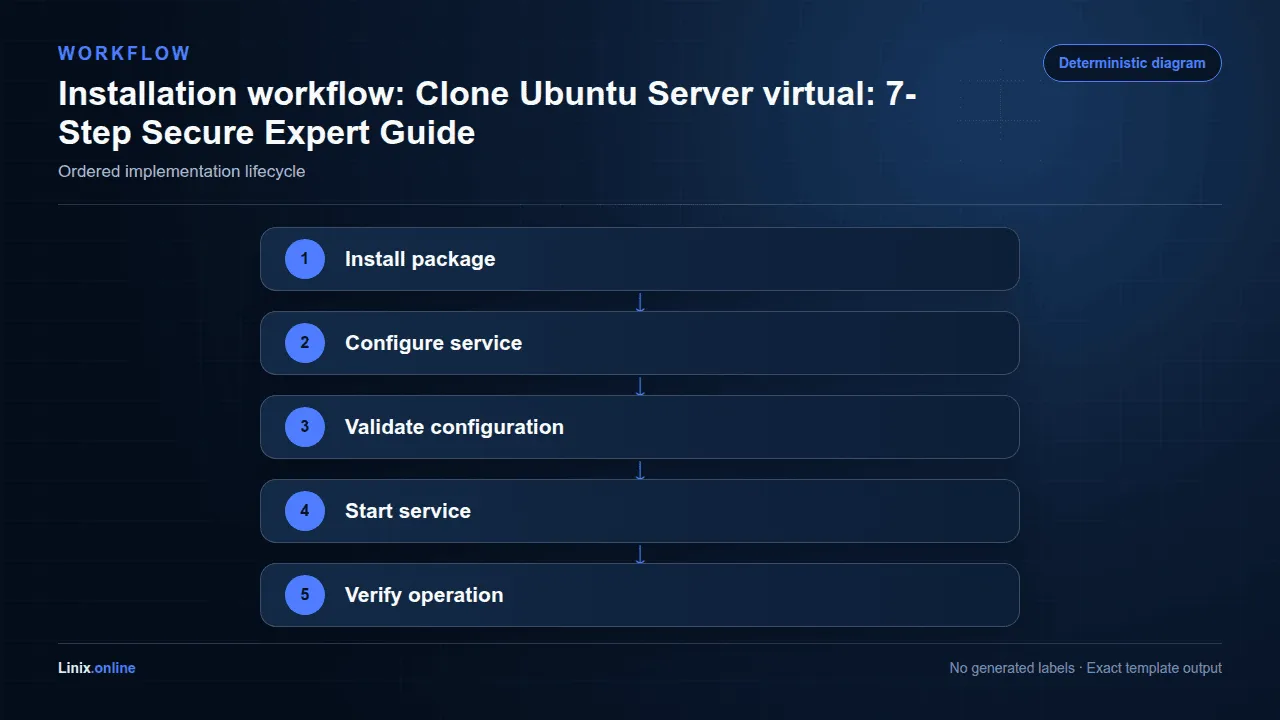
The “installation” phase in a cloning context refers to the preparation of the source machine (the template) and the creation of the new virtual disk. We do not install the OS from scratch; instead, we prepare the existing OS to be “clonable.”
First, ensure the source machine is in a clean state. Stop any high-intensity services that might be writing heavily to the disk to minimize the risk of filesystem inconsistency during the snapshot process.
# Stop non-essential services to ensure disk consistency
sudo systemctl stop nginx
sudo systemctl stop postgresql
sudo systemctl stop mysql
Next, create a snapshot at the hypervisor level. This is the safest way to capture the state of the machine. If you are using Libvirt/KVM, you can use virsh to manage snapshots. However, for a “clean” clone, it is often better to shut down the machine entirely to ensure a “cold” clone, which avoids the complexities of memory state synchronization.
# Shut down the source machine for a cold clone
sudo shutdown now
Once the machine is powered off, use your hypervisor’s management tool to clone the disk image. For example, using qemu-img to create a new copy of the disk:
# Create a new disk image from the source
qemu-img create -f qcow2 /var/lib/libvirt/images/ubuntu-clone.qcow2 /var/lib/libvirt/images/ubuntu-source.qcow2
Review the command output before continuing, and confirm that it completed without errors.
Alternative Installation and Package Sources
Compare the distribution-supported package with the project’s official repository or installation method. Choose one source, document it, and avoid mixing package origins.
Before changing package sources, record the current package version and repository origin. This makes troubleshooting and rollback more predictable.
Expert Architecture Notes
Experienced administrators define service boundaries before tuning individual settings.
- Treat APT sources, packages, services, kernel, and bootloader as one managed dependency graph.
- Separate routine updates from release upgrades and document third-party repositories.
Record the package source and installed version used for Clone Ubuntu Server virtual so future maintenance remains reproducible.
Configuration
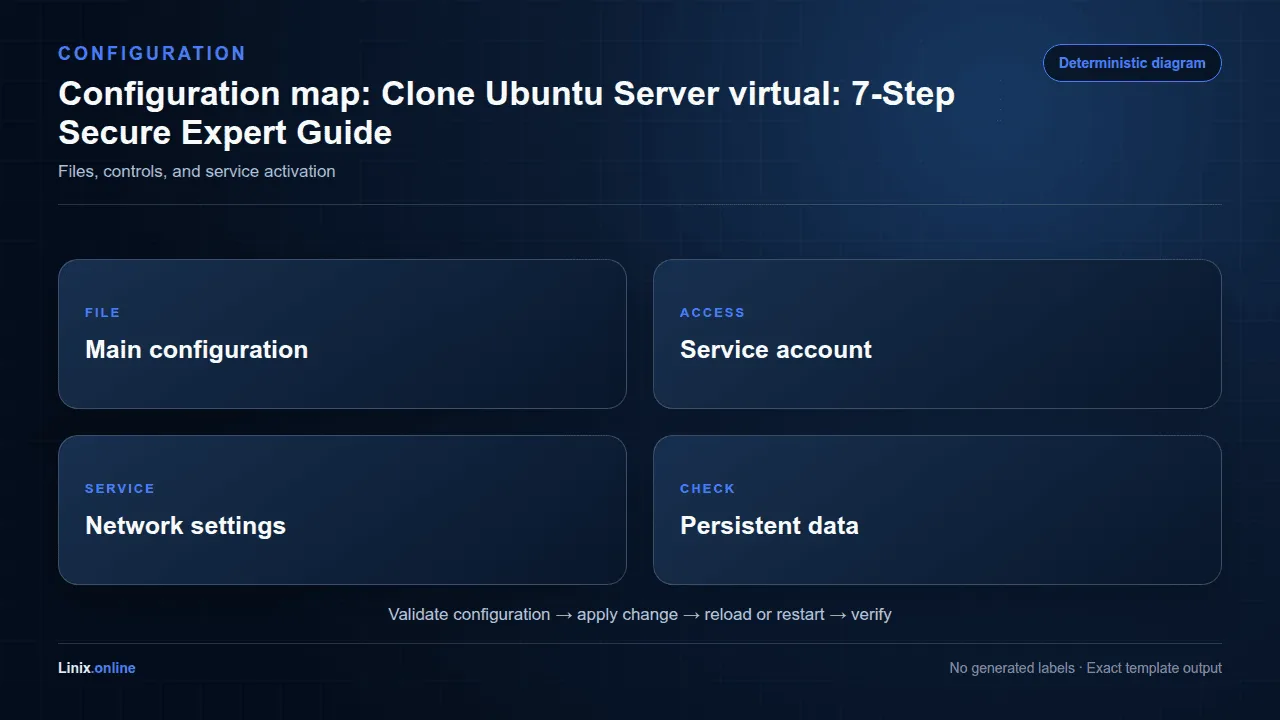
After the initial setup, Clone Ubuntu Server virtual requires the following configuration checks.
This is the most critical phase. Once the clone is created and powered on, you must perform “Identity Sanitization.” If you skip this, the clone will attempt to use the same Machine ID and SSH keys, which will cause failures in DHCP, logging, and remote management.
1. Machine ID and D-Bus Sanitization
The /etc/machine-id is used by many system services (including systemd and dbus) to uniquely identify the host. If two machines share this ID, they may be treated as the same entity by centralized logging or orchestration tools.
# Remove the existing machine-id
sudo truncate -s 0 /etc/machine-id

# Re-generate a new machine-id (this will be done on next boot,
# but we can trigger it or let systemd handle it)
# Note: Do not delete the file, just empty it.
Review the command output before continuing, and confirm that it completed without errors.
2. SSH Host Key Regeneration
Every SSH server uses unique host keys located in /etc/ssh/. If the clone uses the source’s keys, any client that has cached the source’s key will receive a “Man-in-the-Middle” warning when connecting to the clone, or worse, the clone may be impersonating the source.
# Remove old host keys
sudo rm /etc/ssh/ssh_host_*

# Re-generate new host keys
sudo ssh-keygen -A
Review the command output before continuing, and confirm that it completed without errors.
3. Network Interface and IP Reconfiguration
To prevent IP conflicts, you must update the Netplan configuration. Ubuntu uses Netplan for network configuration. You must change the static IP or ensure the interface is set to DHCP if the source was static.
# Edit the Netplan configuration file
sudo nano /etc/netplan/00-installer-config.yaml

# Example modification: Change IP from.10 to.11
# network:
#   ethernets:
#     enp1s0:
#       addresses:
#         - 192.168.10.11/24
#       routes:
#         - to: default
#           via: 192.168.10.1
#       nameservers:
#         addresses: [8.8.8.8, 8.8.4.4]
After modifying the configuration, apply the changes:
# Apply the new network configuration
sudo netplan apply
Review the command output before continuing, and confirm that it completed without errors.
Configuration and File Reference
| Item | Purpose |
|---|---|
/etc/clone/ | Configuration or persistent data location to back up and review before changes. |
/var/log/clone/ | Primary log location or log directory used during diagnosis. |
Paths can vary by distribution and installation method. Confirm each path on the target host before editing or automating it.
Upgrade and Maintenance Workflow
Use a staged maintenance process: capture the current version, back up configuration and data, review available packages, apply the update, and complete the same verification checks used after installation.
sudo apt update
sudo apt install --only-upgrade clone
Run upgrade commands during a maintenance window. Review package changes before confirmation, then verify the service, logs, listening ports, and application behavior.
Expert Performance Guidance
Performance changes should follow measurement, not assumptions.
- Measure boot time, memory pressure, disk latency, and service startup before changing kernel or sysctl settings.
- Keep /boot and root filesystem capacity monitored before large upgrades.
Monitor the signals that prove whether the change helped or introduced risk.
- Monitor failed systemd units, pending reboots, disk space, and security updates.
Keep the final Clone Ubuntu Server virtual configuration in version control and document every production-specific deviation.
Review Clone Ubuntu Server virtual settings after major package or operating-system upgrades because defaults can change.
Verification
For upstream details and current platform guidance, consult the Ubuntu Server documentation.
Use these checks to verify that Clone Ubuntu Server virtual completed successfully.
Verification ensures that the sanitization and configuration steps were successful and that the clone is a distinct entity. We use observable evidence from system commands to confirm success.
Verifying Machine ID Uniqueness
Run the following command on both the source and the clone. The output must be different.
cat /etc/machine-id
Verifying SSH Host Keys
Check the creation timestamp or the fingerprint of the new keys to ensure they are unique to the clone.
</pre><pre><code># Check the fingerprint of the new host key
ssh-keygen -l -f /etc/ssh/ssh_host_rsa_key.pub
</code>
Verifying Network Identity
Confirm that the IP address matches the new configuration and that the hostname is correct (if you also updated <code>/etc/hostname</code>).
</pre><pre><code># Check IP address
ip addr show enp1s0
# Check hostname
hostnamectl
Review the command output before continuing, and confirm that it completed without errors.
Verifying Service Integrity
Ensure that all critical system services started correctly after the identity change. A failure in systemd-networkd or ssh would indicate a configuration error.
# Check status of critical services
systemctl status ssh
systemctl status systemd-networkd
Review the command output before continuing, and confirm that it completed without errors.
A complete Clone Ubuntu Server virtual verification should cover the version, service state, logs, listening ports, and application response.
Save the successful the service environment validation output as a baseline for later incident comparison.
Troubleshooting
If the Linux setup does not work as expected, review these common causes.
Even with careful execution, cloning can fail. Below are common failure modes and their isolation/recovery paths.
| Failure Mode | Observable Evidence | Isolation & Recovery |
|---|---|---|
| IP Conflict | “Destination Host Unreachable” or intermittent connectivity on both machines. | Disconnect the clone from the network, verify the IP configuration in Netplan, and ensure no other device holds the IP. |
| SSH Authentication Failure | “Host key verification failed” on the client side. | This is expected. The client must remove the old key using ssh-keygen -R [IP_ADDRESS]. |
| Service Startup Failure | journalctl -u [service_name] shows errors related to identity or permissions. | Check if the service relies on a specific Machine ID or if the new identity has insufficient permissions to access certain secrets. |
| Filesystem Corruption | Boot failure or “Read-only filesystem” errors. | The clone was likely made while the source was running (hot clone). Perform a fsck from a Live ISO and re-clone using a “cold” method. |
Logs and Diagnostic Commands
When the service behaves unexpectedly, collect evidence before changing configuration. The following commands establish the installed version, service state, recent errors, and application-level health.
clone --version
systemctl status clone --no-pager
journalctl -u clone -n 100 --no-pager
journalctl -u clone --since '30 minutes ago'
systemctl status clone --no-pager
Save the relevant output with timestamps. Compare the first error with later secondary failures, because the earliest failure usually identifies the root cause.
Rollback and Uninstall Strategy
A rollback should restore both configuration and compatible application data. Do not remove data directories until backups have been verified and the retention decision is documented.
sudo cp -a /etc/clone /etc/clone.backup
sudo systemctl restart clone
sudo apt remove clone
Package removal does not always delete configuration or persistent data. Inspect the package manager output, verify backups, and confirm whether a purge is appropriate before deleting retained files.
Automation and Routine Health Checks
Automate read-only health checks before automating changes. A scheduled check should report a failure without repeatedly restarting services or hiding the original error.
systemctl is-active clone
journalctl -u clone -n 20 --no-pager
For fleet management, place the same checks in Ansible, a monitoring agent, or a systemd timer. Keep credentials outside scripts and make maintenance jobs idempotent.
Common Production Failure Modes
| Expert concern | Operational guidance |
|---|---|
| Repository drift | PPAs can replace distribution packages and block upgrades. |
| Kernel regression | A new kernel may fail with storage, network, or DKMS modules. |
| Partial dpkg transaction | Interrupted package operations can leave packages unconfigured. |
Security Best Practices
When you the procedure machine instances, you are essentially duplicating a security boundary. You must ensure that the new boundary is just as robust as the original.
Enforce Least-Privilege for New Identities
If the clone is intended for a different purpose (e.g., a development environment), do not simply copy the user accounts and sudoers permissions from the production source. Instead, create new, scoped users with specific sudo privileges. This prevents “privilege creep” where a development machine has the same administrative access as a production machine.
# Example: Creating a scoped user on the clone
sudo adduser devuser
sudo usermod -aG sudo devuser
# Restrict sudo access via /etc/sudoers.d/devuser if necessary
Review the command output before continuing, and confirm that it completed without errors.
Secret Handling and Credential Rotation
Never allow a clone to retain the same application-level secrets as the source. This includes:
- Database passwords (e.g., in
/etc/postgresql/18/main/pg_hba.confor application config files). - API keys and tokens stored in environment variables or configuration files.
- SSL/TLS certificates (ensure the clone uses its own unique certificate signed by a CA, rather than the production certificate).
Auditability and Logging
Ensure that the clone is correctly reporting to your centralized logging server. If the clone uses the same hostname or Machine ID as the source, your logs will be interleaved, making it impossible to perform forensic analysis or audit security events. Always verify that journald is sending logs to the correct remote endpoint with the correct metadata.
Production Readiness Checklist
- Back up configuration and application data before changes.
- Validate configuration before restarting or reloading the service.
- Monitor logs, disk usage, resource consumption, and service availability.
- Document rollback steps and test them outside production.
Record the tested version, configuration checksum, backup location, validation commands, and rollback owner in the change record before production rollout.
Expert Hardening Guidance
Apply controls in layers and verify that security changes do not break required service behavior.
- Use unattended-upgrades with monitoring and an explicit reboot policy.
- Prefer AppArmor profiles, least-privilege sudo rules, and minimal exposed services.
Avoid these common operational anti-patterns.
- Do not mix multiple repositories for the same core package without pinning.
Expert Recovery Strategy
Recovery planning must cover configuration, persistent state, dependencies, and the order in which services return.
- Retain previous kernels and console access.
- Save package selections, APT sources, and configuration backups before high-risk changes.
Automate repeatable checks and changes without hiding failures.
- Use cloud-init or Ansible for repeatable host configuration.
Frequently Asked Questions
What should I verify after this configuration?
Confirm the service, version, logs, network access, and security settings described above.
Can I clone a running Ubuntu Server without shutting it down?
Yes, this is known as a “hot clone.” While hypervisors like VMware or Proxmox support this via snapshots, it carries a higher risk of filesystem inconsistency. If you perform a hot clone, you must run fsck on the clone immediately upon its first boot to ensure the integrity of the data.
Why is my clone showing the same hostname as the source?
Cloning copies the /etc/hostname and /etc/hosts files. You must manually update these files on the clone to ensure the system identifies itself correctly within the network.
Will cloning a VM change the MAC address?
Most modern hypervisors allow you to choose whether to “generate a new MAC address” during the cloning process. It is highly recommended to always select “Generate New MAC” to prevent Layer 2 network conflicts.
Conclusion
You now have a verified process for the deployment with configuration, troubleshooting, and security guidance.
Cloning an Ubuntu Server virtual machine is a powerful tool for scaling infrastructure, but it requires a disciplined approach to identity and security management. By treating the clone as a new entity—resetting the Machine ID, regenerating SSH host keys, and reconfiguring network settings—you avoid the most common pitfalls of virtualization management. Always prioritize a “cold clone” for maximum data integrity and never forget to rotate application-level secrets to maintain a secure, audited, and scalable environment.
Related Tutorials
Need help? If you run into issues while following this guide, leave a comment with the command output and your Linux version.